Pages

October 14, 2012

How to: Stripes in the Nursery


 A few months before we knew Gherkin was coming, while were still trying to tempt her to make herself known - we decided to up the ante by starting on what would be her nursery.  The previous owners had used it as an office.  We used it as a guest room for a little while.

The room is the second largest bedroom, but by no means the biggest room in the world.  Perfect for a baby!

This is what we started with.  Bland, boring and brown.  Not sure of this shade, but it wasn't doing the room justice.

We decided to go with my favorite color in the absolute whole world, grey.  In a 2-tone stripe for neutrality.  Wasn't aware of Gherkin's presence, let alone her gender.  And a neutral palette would work well for either gender down the road.
     

We started by clearing out the room.  Getting our supplies ready. Taking off faceplates and wiping down the base moldings for dust.


The base coat of HD Behr's Irish Mist was first - here I am cutting in around corners and window trim.  And no, I do not typically use painter's tape when cutting in.  I just get a really good 2 inch brush and go to town.  If I dribble a bit, which has been known to occur, I can go back over the trim piece with some white.

I cut in, and Craig rolls.  It's a good division of labor, especially time-wise, we usually spend about the same amount of time with the paint can.  Also, does Home Depot's Behr paint smell like oddly off egg nog to anyone else?


After the base coat, which I trust I don't have to explain, we were ready to prep for stripes!

Step One is knowing the dimensions of your room, especially height - to determine how thick you want your stripes.  Now, you don't necessarily have to make them all the same size, though if you are going for a uniform look, it is best to have the 2 stripes more at eye-level the same height and any others deviating less than 0.5 - 1 inch.  If you don't your eye will figure it out, and it will bug you til the end of time.

Because of the height of our walls and where our electrical outlets lay, we decided to go with a combination of 14, 15, and 16 inch stripes.

Laying out your lines is of utmost importance.  Don't get impatient and just eyeball it - it will not be a good time.  We used a laser level on each top and bottom marking.  It probably would have been better had we focused on one line at a time, instead of one wall at a time - for our walls are not completely square, and there was a bit of a mismatch on some of the lines when we got all the way around.  Luckily for us, the window assisted in camouflaging these mismatched joins.


After you plot out your lines Step Two is to cut in on your lines.  Don't just start rolling, unless you really trust your ability to roll close to the .5 inch line of tape that is saving you from certain agony.  Also, you will get cleaner lines if you cut in first.

In the division of labor category, you could have one person cut in and another roll a different line, staying well away from the tape lines.

In our case, I just started about 20 mins before Craig did, and I was able to stay a stripe ahead of him.  The stripes go FAST!  We did run 2 coats on the stripes.


Also, marking your 'paint' stripes vs. your 'don't paint' stripes - VERY helpful.


Once complete, you have a fresh, modern gender neutral look for your room!  And this look doesn't just work in a nursery.  I've seen tone on tone stripes work well in lots of rooms, from Bedrooms to Kitchens to Living Rooms.  Just keep the color choices within the same paint sample strip and your golden.


March 19, 2012

All Renos are Sagas

We knew we wanted to update our ensuite bathroom when we bought our home.  It was one of the least redeeming rooms in the house.  It wasn't awful - it was just blah. 

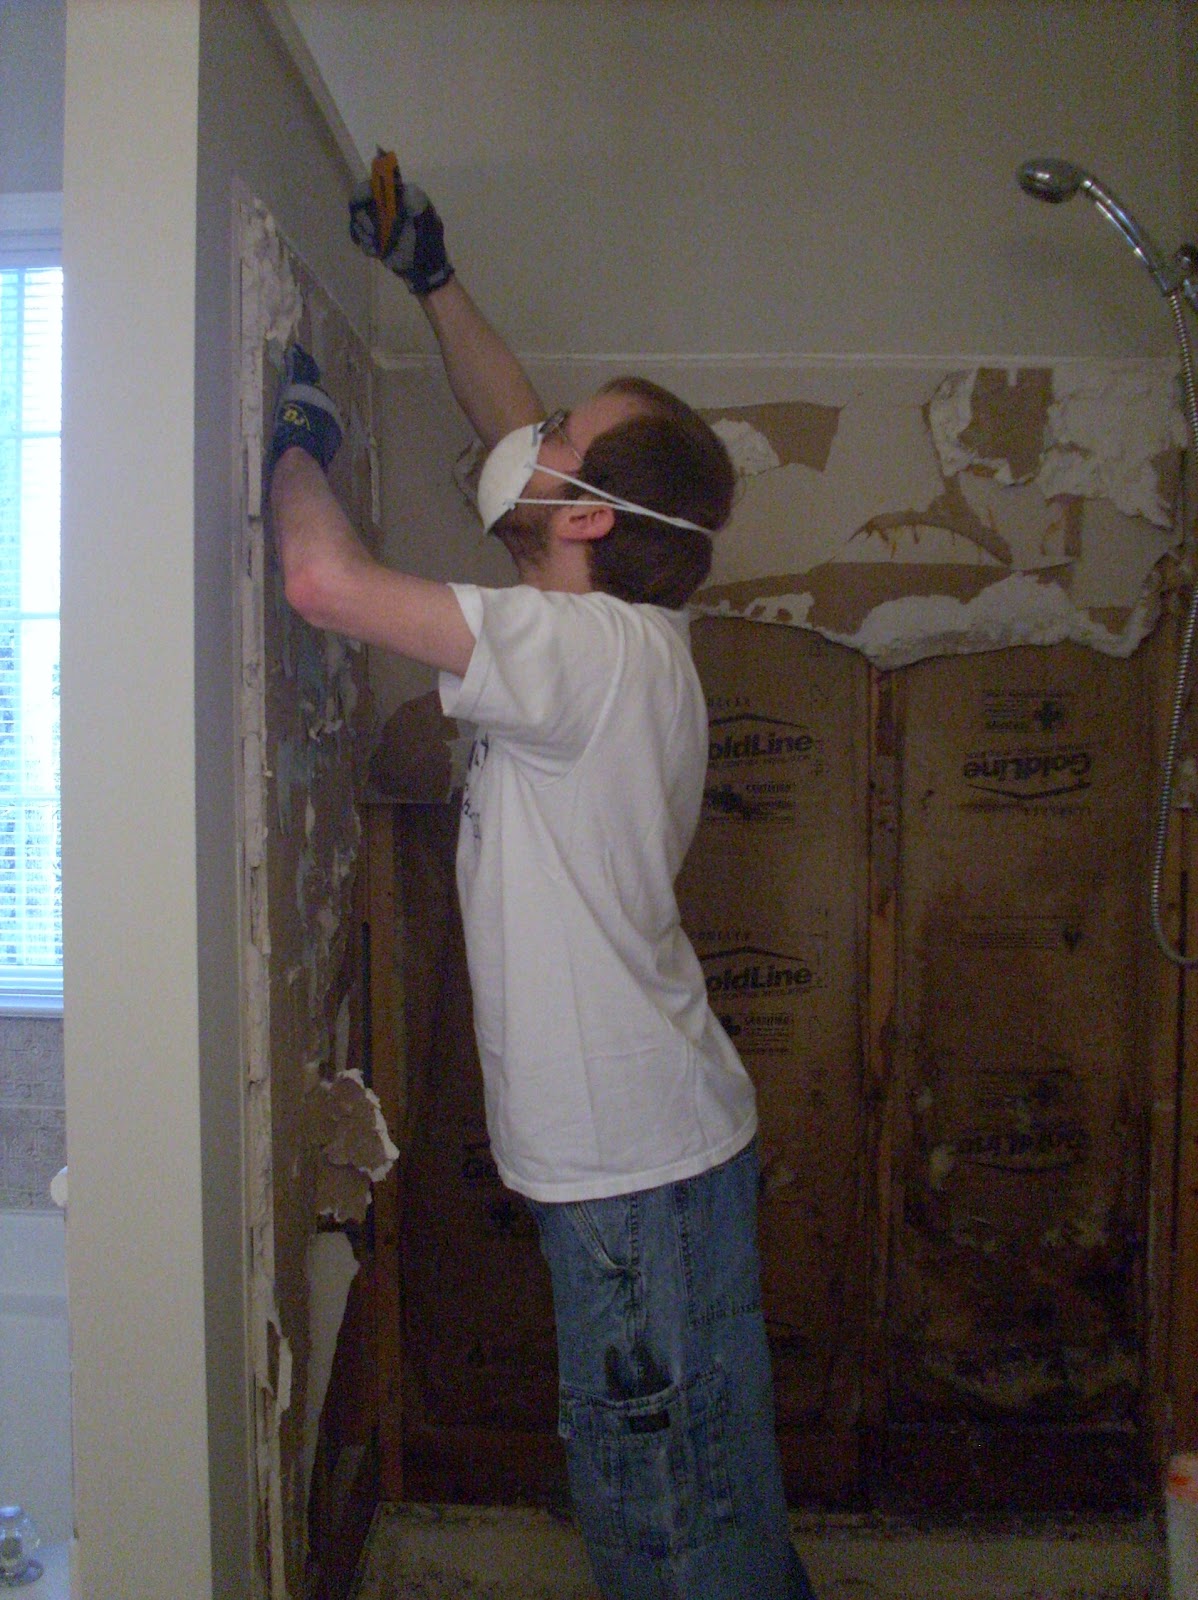
Also, there was mold.  Not terrible-you-are-going-to-die mold.  But mold nonetheless.

When we moved in, this what it looked like.  Plain cabinetry, some pinky-brown ceramic floors, and not much else.  See what I mean?  90s builder bleh.


The shower in question - where the mold resides.  Looks really small  in the before doesn't it?   And here is the wonderful Before/After of the Shower! 


Some of the other Afters include some great views of the floor and detail on the shower.  As we are still in progress, the tub surround and vanity areas have yet to be updated.  The mirror will get a buildout of molding and perhaps some shelving.  There is a little bit of plumbing work to do and we are waiting for the lights and faucets to come in to get that vanity wall done.


Walls and bathroom floors are 12 x 24 Grey Marble from Floor and Decor Outlets, while the shower stall floor is 1 inch hex mosiac tile in Autumn Slate, also from Floor and Decor Outlets.  The Marble was $5.29/sq ft!  What an amazing deal hey?  We were not able to find a better deal anywhere else, and this marble is so spectacular.  I stand in the shower and just stare at it.  It's got so much depth.


The floors are not completely clean in these first few pictures, still got a little bit of grout haze.


Dry fitting our new open vanities to look at the horribly badly positioned plumbing (There will be 2 of these).  After having Dave the plumber come by to take a look at our shower in the kitchen (don't ask, the ceiling is not supposed to be leaking water) he estimated that we would need to move the plumbing to accomodate the new vanities.  (Vanities from Home Decorators Collection via Home Depot).

This is how we are living right now.  Storage but no water.  Want to brush your teeth?  Use the shower or the hall bath.

That's pretty much all the exciting stuff, the befores and afters.  But hey, if you do want more pictures, below you'll find the in-progess stuff.

While we were saving up/finalizing all our choices for the ensuite bath we did some smaller upgrades to pass the time.


Like painting the white vanity/cabinet dark grey.  This made it a lot more liveable.


We also did a bit of painting, pre-demo.  This is grey.  Which happens to be my favorite color.  In case you couldn't already tell.  :)

Demo & Flooring Installation pics!


It's about the Definition

So, apparently to me 'We will be back really soon' means 'We will be back in 6 months'.


Bad Me.  Sorry, but this whole keeping up a blog thing is hard work!


I do however have pictures and updates and a BRAND NEW BATHROOM (that-isnt-quite-done-yet-but-is-still-uber-smexy).


30 minutes - that's all I ask.

October 7, 2011

Where have we been??


So apparently I’ve been (again) terribly remiss.

I’ve not posted anything on here for over 6 weeks!  Well I have been busy losing 20lbs (still more to go), but that’s really besides the point.  You need updates!?  Don’t you?

In the coming days you’ll hear about (in no particular order):

-          Our new bed, our amazing mattress, the fact that I now sleep soundly though the night (sawing cute cartoon logs) and an update on bedroom décor that has undergone some transformations
-          Our new nook table and the craigslist journey that ensued
-          Where our bathroom project currently is, and what the hall bath looks like mid-project
-          ALL about impulsive purchasing of large scale furniture, like dining tables and sectionals
-          A reupholstering project!
-          A curtain project!
-          A DIY Art project!
-          Update on the Office progress
-          Ideas on the Nursery (for an as-yet-to-be-incubating bean)

You are excited!  I can tell you are excited!

August 23, 2011

Master Bedroom Plans

First, do you notice we still haven't posted about the Master Bathroom?  It's on it's way, it's painted, the cabinet is done! WHOO.  We will be doing an interim reveal in the coming days once the second coat of paint (and all the hardware) go back up.  


In the meantime, we have a goody in the mail.


And I don't think it's going to fit int he mailbox.


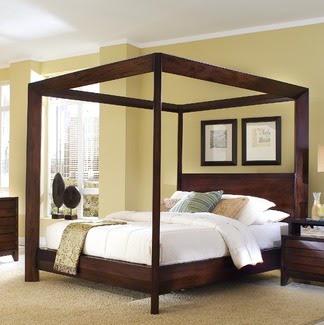
This is our new bed.  Gorg.eous 


We hmmm-ed and haaaa-ed about it for weeks.  It was pricey, it was BIG, but it looked so perfect.  First seen on CSN.com, we shopped around but really couldn't find anything else we liked so much as this one.  


Our check-list for a bed went as follows:
- King
- Four Poster or Canopy
- Real Wood
- Headboard & Footboard
- Under $1000


So we checked everything except for the last box, but it was barely over.


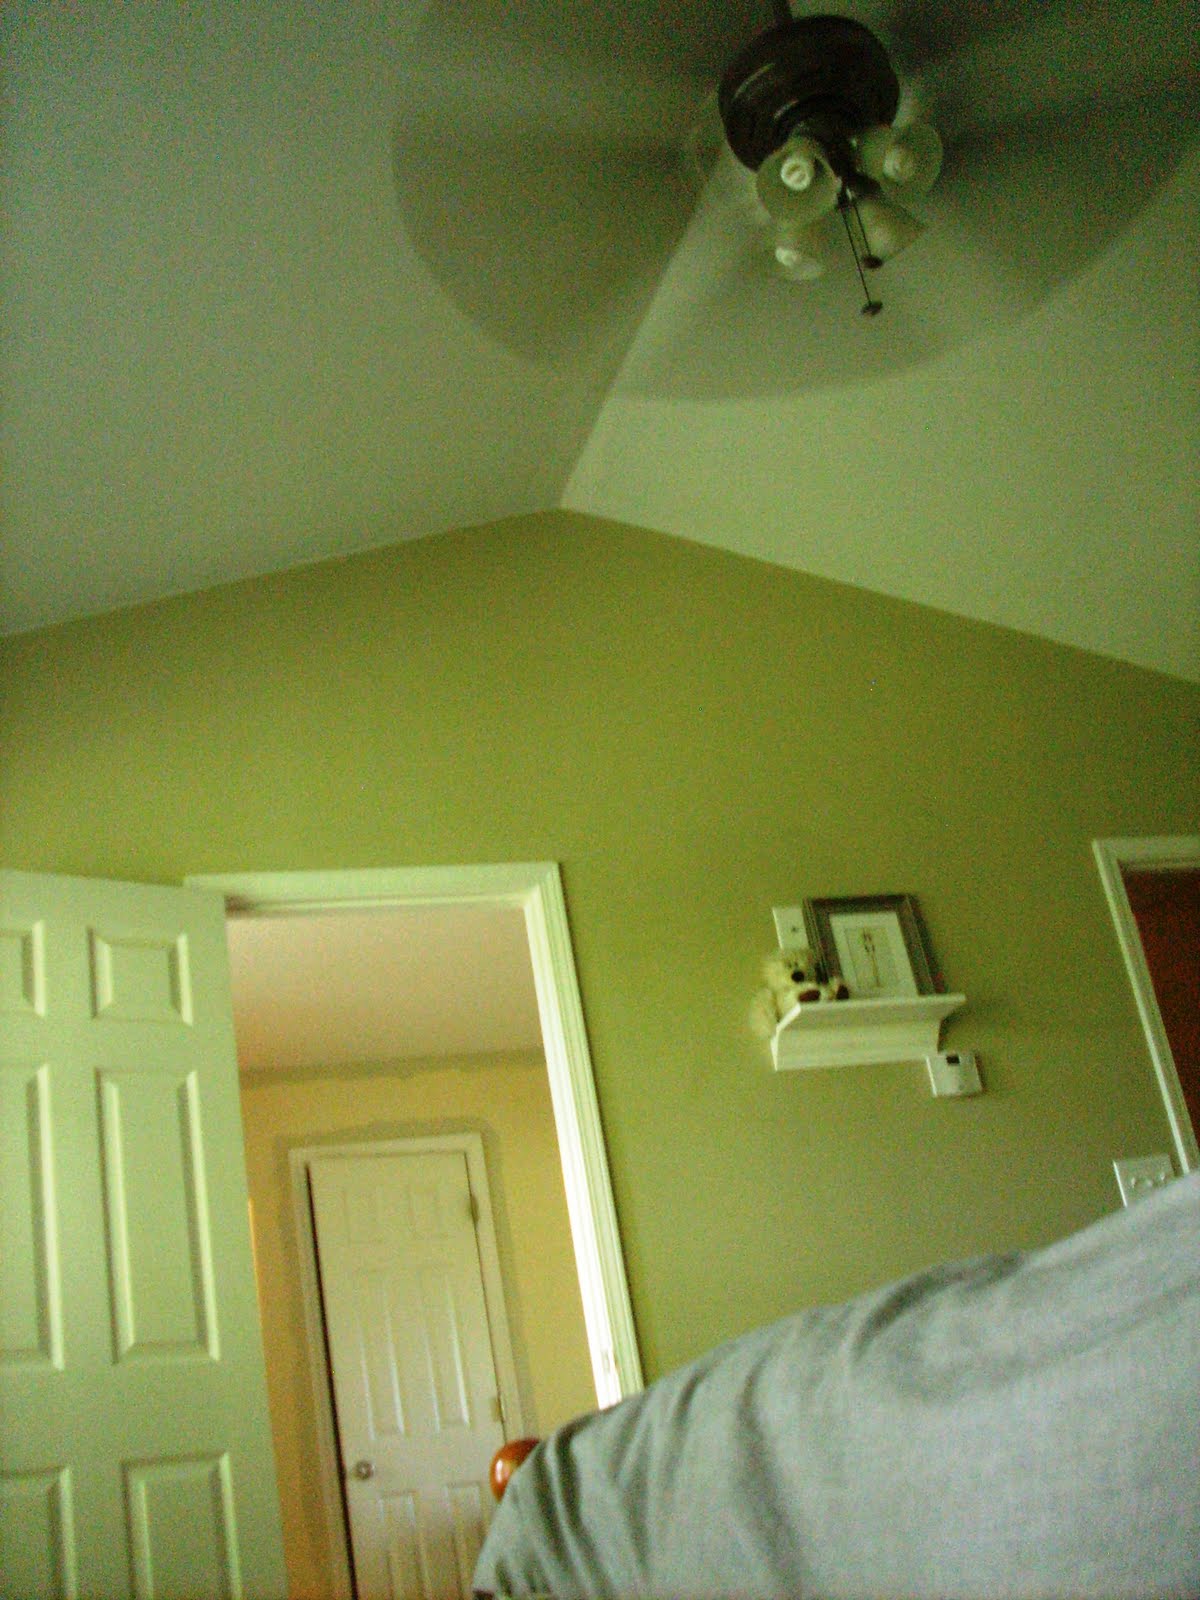
This is our Master Bedroom currently, with a green tone on the wall that fluctuates between this mossy green in the picture and a brown-y grey in low light.  It's an OK color, and I've had something like this in the past.  It's calming and neutral.  We are gonna work with it for the time being and see what happens.  But I'm guessing it's gonna go.  I'm feeling Blues and Yellows in here.  And we will try for a wall color other than Gray.  No guarantees made though.  :)  I like my Gray.


Here is our current moodboard (subject to change, since Craig hasn't even seen this yet)


So, it's silver and brown and ...gray.  Oh well, what can I say I love the color.  I'll get to a sources post at some point, but it's all CSN.com, O.co, West Elm, Pier 1 and Urban Outfitters.


Here are our befores.  Sorry for the slight blurriness, my camera really doesn't like me when the flash is turned off.


And here is a mock-up.  This wall is the only one big enough for the bed.  And it JUST clears the ceiling fan.


What do you think?  Is there too much gray in our house?  Should I change my middle name to gray?

August 17, 2011

Putting Some Bird in the Loo

The bathroom is still in progress, and I have been remiss.

So while I finish cutting in and rolling the walls (cabinet is done!) we bring you quick decor fix #487 - ART!

I decided to stop in this little consignment shop I drive by on my way to work everyday.  It's called 'Accesorize Again' in Duluth, Ga.  Just wanted to see what they had in terms of furniture and accessories.  I saw a wonderful gold leafed mirror, thought about it for the closet, but I didn't feel like explaining why a $50 purchase for a closet was a good idea to my wonderful husband.  :)


Then I ran across these.


I really, really liked them.  I couldn't figure out where to put them though.  So I put them down and walked around the store more.  Then I had it!  The hall bath downstairs needed some art! 

And actually, I don't think you've seen the downstairs hall bath.  Here it is in it's BEFORE state.


I kinda dig the wallpaper.  I don't think it's anything we would have ever actually picked out (super pink?) but it's neat.  It has a french poem about a savage garden written in silver and gold metallic over the pink background. (Don't ask me what it says..)

So I lined up the prints on the wall to eyeball how far about they needed to be.  I really was enjoying how the gold on the frame played off the gold in the script. 

And voila!


Much better!

Yes?  What do you think of our new aviary additions?

And BTW, this light has to go.