Pages

August 23, 2011

Master Bedroom Plans

First, do you notice we still haven't posted about the Master Bathroom?  It's on it's way, it's painted, the cabinet is done! WHOO.  We will be doing an interim reveal in the coming days once the second coat of paint (and all the hardware) go back up.  


In the meantime, we have a goody in the mail.


And I don't think it's going to fit int he mailbox.


This is our new bed.  Gorg.eous 


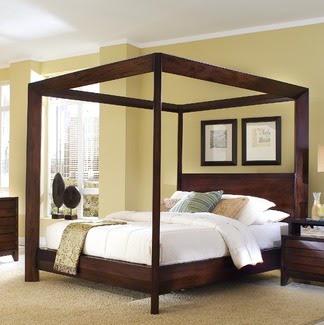
We hmmm-ed and haaaa-ed about it for weeks.  It was pricey, it was BIG, but it looked so perfect.  First seen on CSN.com, we shopped around but really couldn't find anything else we liked so much as this one.  


Our check-list for a bed went as follows:
- King
- Four Poster or Canopy
- Real Wood
- Headboard & Footboard
- Under $1000


So we checked everything except for the last box, but it was barely over.


This is our Master Bedroom currently, with a green tone on the wall that fluctuates between this mossy green in the picture and a brown-y grey in low light.  It's an OK color, and I've had something like this in the past.  It's calming and neutral.  We are gonna work with it for the time being and see what happens.  But I'm guessing it's gonna go.  I'm feeling Blues and Yellows in here.  And we will try for a wall color other than Gray.  No guarantees made though.  :)  I like my Gray.


Here is our current moodboard (subject to change, since Craig hasn't even seen this yet)


So, it's silver and brown and ...gray.  Oh well, what can I say I love the color.  I'll get to a sources post at some point, but it's all CSN.com, O.co, West Elm, Pier 1 and Urban Outfitters.


Here are our befores.  Sorry for the slight blurriness, my camera really doesn't like me when the flash is turned off.


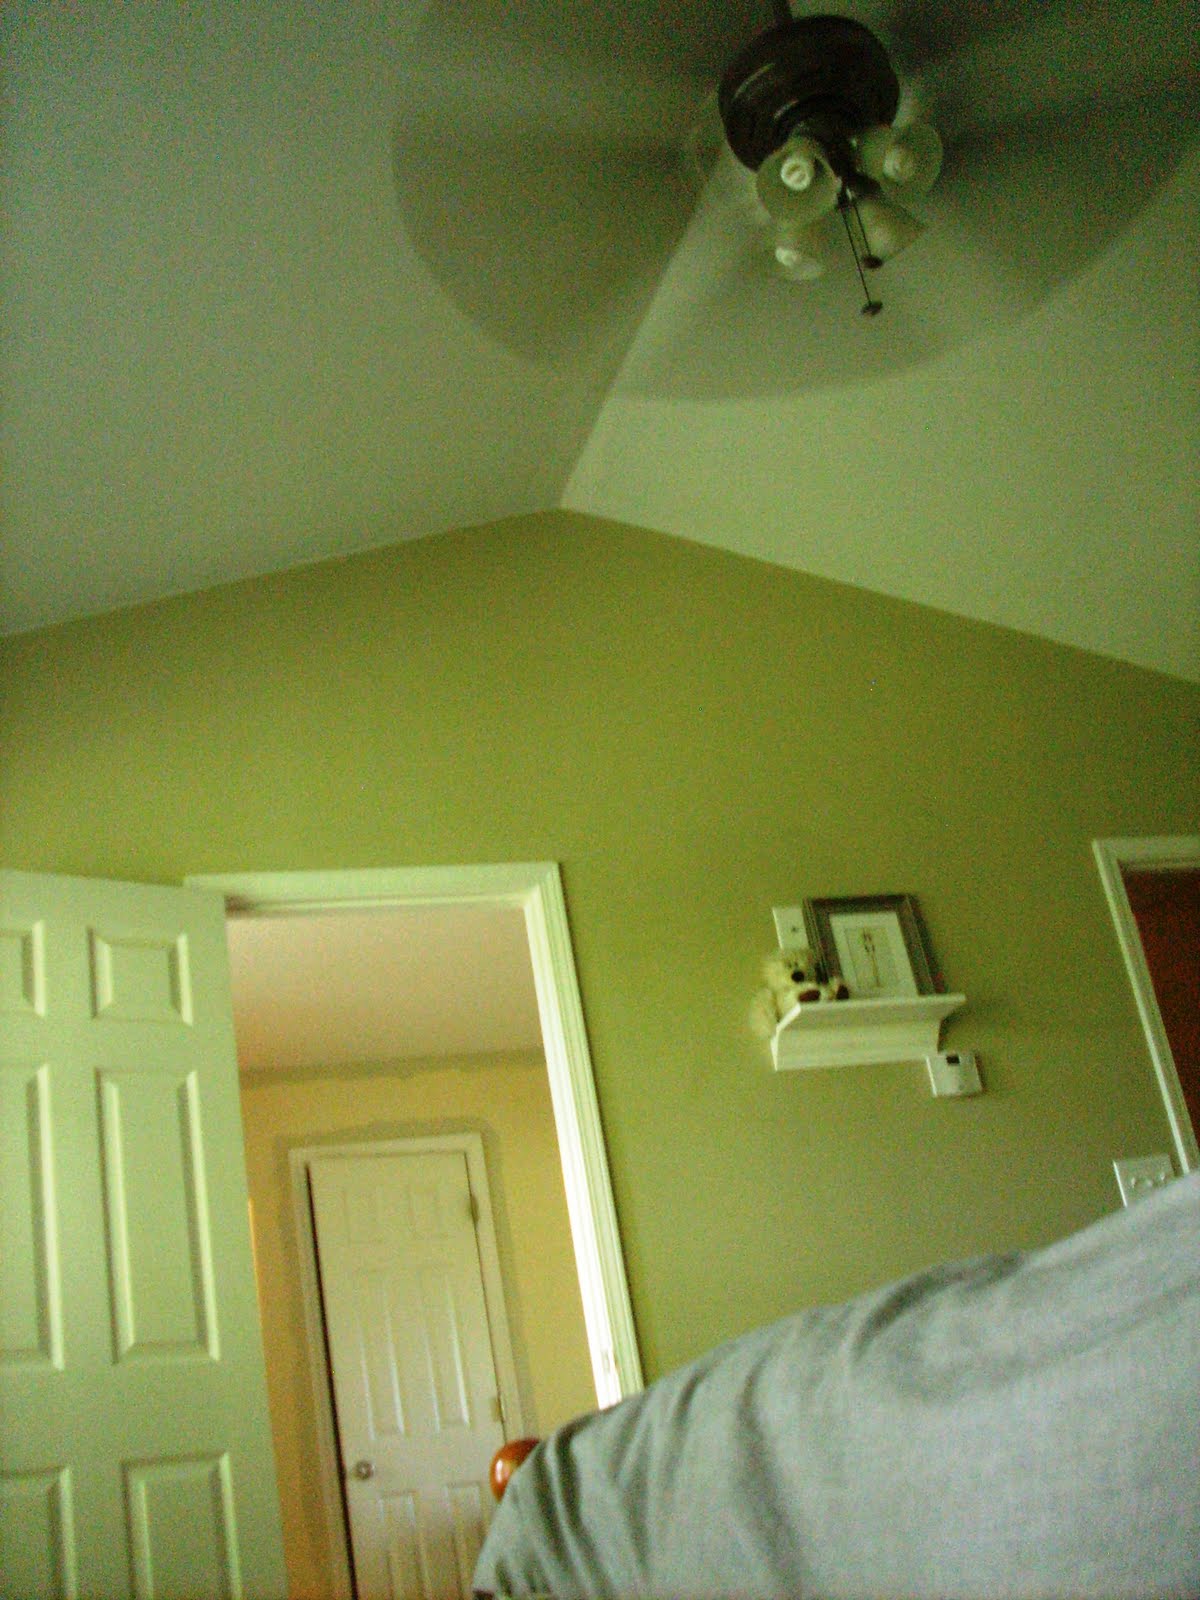
And here is a mock-up.  This wall is the only one big enough for the bed.  And it JUST clears the ceiling fan.


What do you think?  Is there too much gray in our house?  Should I change my middle name to gray?

August 17, 2011

Putting Some Bird in the Loo

The bathroom is still in progress, and I have been remiss.

So while I finish cutting in and rolling the walls (cabinet is done!) we bring you quick decor fix #487 - ART!

I decided to stop in this little consignment shop I drive by on my way to work everyday.  It's called 'Accesorize Again' in Duluth, Ga.  Just wanted to see what they had in terms of furniture and accessories.  I saw a wonderful gold leafed mirror, thought about it for the closet, but I didn't feel like explaining why a $50 purchase for a closet was a good idea to my wonderful husband.  :)


Then I ran across these.


I really, really liked them.  I couldn't figure out where to put them though.  So I put them down and walked around the store more.  Then I had it!  The hall bath downstairs needed some art! 

And actually, I don't think you've seen the downstairs hall bath.  Here it is in it's BEFORE state.


I kinda dig the wallpaper.  I don't think it's anything we would have ever actually picked out (super pink?) but it's neat.  It has a french poem about a savage garden written in silver and gold metallic over the pink background. (Don't ask me what it says..)

So I lined up the prints on the wall to eyeball how far about they needed to be.  I really was enjoying how the gold on the frame played off the gold in the script. 

And voila!


Much better!

Yes?  What do you think of our new aviary additions?

And BTW, this light has to go.

August 8, 2011

Primed and (not) Painted Cabinet

The progress is slow, but hey, it's progress.  We've had a few interruptions (trip to Savannah, our one year anniversary) that have prevented more from being done on the bathroom, however I foresee the ability to conclude this project in the very near future.


So far, we have primed the cabinet.


What?  Yes, I know that's not a whole lot of movement from our last update, but the dang thing took 3!! coats of primer.  


Here is what we are starting with (forgive messy work-in-progress clutter):


And since you've never seen the other side of the room, here it is, bath on the left and shower on the right:


And our supplies for the 'HOW TO PAINT A LAMINATE CABINET' Adventure are:


 - Primer and/or Primer and Paint in One (BEHR Thorny Branch S-H-780)
 - Paint bucket

 - Paint Tray
 - Trim Roller
 - Sandpaper
 - Screwdriver
 - Painter's Tape (if needed)
 - Craft Brush (for the hard to reach details)
 - Paper Towel (for drips)
 - Beverage (in my case, being good and having water)
 - New hardware (if needed)


Step 1:  Remove existing hardware  
(optional: ponder using existing hardware, since its actually kinda nice)


Step 2: Sand panels and trim


Step 3: Prime cabinets (1st coat) AKA Realize you forgot where you packed your trim brush and prime with a craft brush that causes step 3 to take 2 hours.


During this step, your goal is a nice even light coat.  You are essentially looking to build a base for your paint to adhere to.  It will look streaky, don't worry about it, that's sorta what you want.


Step 4: Repeat Step 3 for the 2nd and 3rd coats (if necessary)


After you have finished the 2nd or 3rd coat, and have a pretty even base of coverage, let the paint dry overnight to cure.  Try to not get caught up in the day-to-day of life and unnecessarily have the paint cure for 7 days (I'll finish it sooner or later).


So here is where we are right now.  An even coat of the primer.  Next up, will be the dark Thorny Branch as a final coat.  Hopefully only one final coat.  *cross you fingers